
how to recondition an electric forklift battery
Reconditioning an electric forklift battery can extend its lifespan, reduce downtime, and save thousands of dollars in premature replacement costs—but only if done correctly and safely. This guide covers step-by-step procedures, safety protocols, and when reconditioning makes financial sense for your fleet.
Understanding Electric Forklift Battery Degradation
Lead-acid forklift batteries lose capacity through sulfation, stratification, and plate corrosion. Sulfation occurs when lead sulfate crystals harden on plates after incomplete charging, reducing active material. Stratification creates acid concentration gradients, while corrosion erodes positive plates over time. Reconditioning targets reversible sulfation and stratification, not physical damage. A battery older than 5 years with less than 70% original capacity may still benefit, but always verify with a load test before investing effort.
Signs Your Battery Needs Reconditioning
- Voltage drops below 1.75V per cell under load
- Specific gravity readings vary by more than 0.030 between cells
- Charge times increase significantly without equalization
- Battery runs hot during charging or operation
- Electrolyte levels require frequent topping off
Tools and Safety Equipment Required
Before starting, gather a digital hydrometer, temperature-compensating refractometer, distilled water, Epsom salt (magnesium sulfate), a smart charger with equalization mode, PPE including acid-resistant gloves, face shield, rubber apron, and a neutralizing agent like baking soda. Never work on a battery while it’s charging—hydrogen gas is explosive. Always remove jewelry and disconnect the battery from the forklift first.
Step-by-Step Reconditioning Process
Step 1: Full Discharge with Load Test
Disconnect the battery and perform a controlled discharge using a battery discharge unit or the forklift’s lifting function until voltage reaches 1.75V per cell. Record individual cell voltages and specific gravity. This baseline identifies weak cells. Do not deep-discharge below 80% depth—damage becomes irreversible.
Step 2: Clean and Inspect Terminals and Case
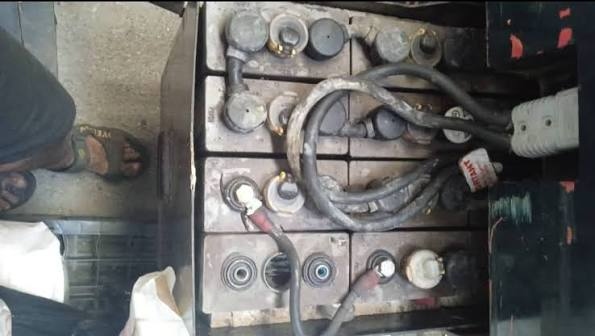
Remove corrosion using a wire brush and baking soda-water solution. Rinse with clean water and dry thoroughly. Inspect the case for cracks, bulging, or electrolyte leaks. Check vent caps for blockage. Replace damaged components before proceeding.
Step 3: Add Distilled Water Only
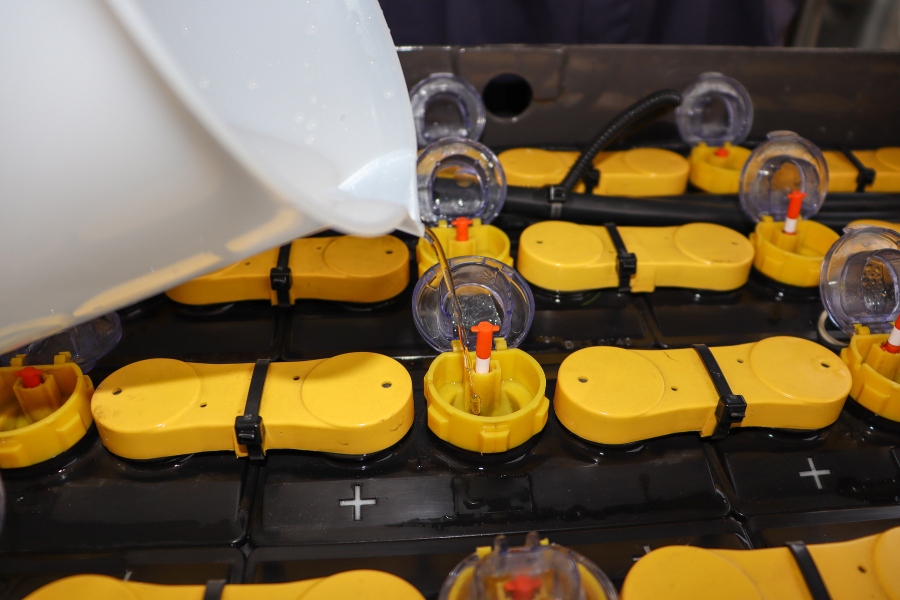
Fill each cell with distilled water to just above the separator plates—never use tap water. The level should be about 1/8 inch above plates before charging. Overfilling causes electrolyte overflow and acid loss. Let the battery rest for 2 hours so water absorbs.
Step 4: Equalization Charge
Set your smart charger to equalization mode (typically 8% higher voltage than standard charge). Charge for 3-5 hours after the battery reaches full charge. This intentionally overcharges slightly to break down sulfate crystals and balance cell voltages. Monitor temperature—if it exceeds 110°F (43°C), stop and let it cool. Never equalize more than once per week.
Step 5: Measure and Adjust Electrolyte Density
After cooling, measure specific gravity. Readings should be between 1.265 and 1.285 at 77°F. If below 1.250, add Epsom salt solution—dissolve 2 ounces of magnesium sulfate per quart of hot distilled water. Repeat the equalization cycle. Recheck gravity; if cells still read low after two cycles, replace those cells.
Step 6: Repeated Conditioning Cycles
For heavily sulfated batteries, run 3–5 full charge-discharge cycles. Hydrometer readings should improve gradually. Document the trend—if no improvement after two complete cycles, the battery is likely beyond reconditioning. A healthy reconditioned battery should deliver at least 80% of original capacity.
Step 7: Post-Conditioning Load Test
Reconnect to the forklift and perform a full lift test for 30 minutes under rated load. Verify voltage stays above 1.75V per cell and no cell drops below 1.7V. Check for excessive heat at terminals. A successful reconditioning yields a standing voltage difference of no more than 0.05V between cells.
Electrolyte Replacement for Severely Degraded Batteries
If reconditioning with Epsom salt fails, you may attempt full electrolyte replacement. Drain the old acid into a certified acid-proof container, rinse with distilled water, then refill with fresh electrolyte (sulfuric acid diluted to 1.265 specific gravity). This works best for batteries with clean plates. However, this process is risky—incorrect acid concentration damages plates permanently. For most operations, replacement is more cost-effective than electrolyte surgery.
Reconditioning vs. Replacement: Cost Analysis
| Factor | Reconditioning | Replacement |
|---|---|---|
| Average cost | $150–$300 (materials and labor) | $2,000–$6,000 per battery |
| Time required | 2–3 days (cycles) | Immediate installation |
| Extends lifespan | 1–2 years | 5–7 years new |
| Risk level | Moderate (acid handling) | Low |
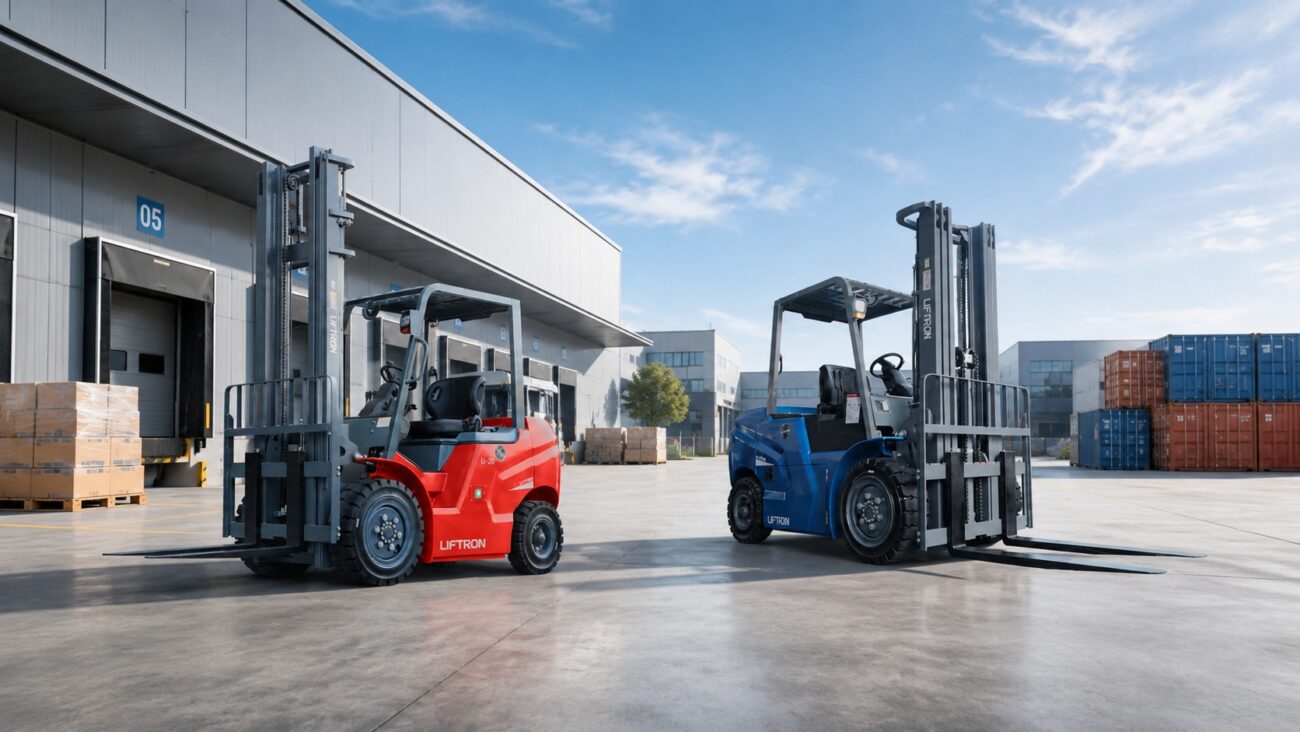
Reconditioning makes economic sense only for batteries younger than 4 years or those with minor sulfation. For batteries with cracked cases, swollen plates, or repeated heat damage, invest in new units. When upgrading, consider modern lithium-ion options. For instance, Liftron Material Handling offers advanced solutions that eliminate water checks, equalization charges, and acid handling entirely. Their Liftron DL SERIES lithium-ion forklifts provide 2,000+ cycles without maintenance, which outperforms any reconditioned lead-acid battery in total cost of ownership.
Common Mistakes That Ruin Battery Reconditioning
- Skipping the load test before reconditioning—you may waste effort on a mechanically damaged battery
- Using tap water—minerals permanently coat plates
- Over-equalizing—excessive heat sheds active material
- Charging frozen batteries—causes cracks and acid leaks
- Ignoring temperature compensation—hydrometer readings are meaningless without it
Maintenance Practices to Prolong Reconditioned Battery Life
After successful reconditioning, adopt a proper watering schedule—never let plates expose above electrolyte. Charge only when battery drops below 20% remaining capacity, but never store discharged for more than 24 hours. Use opportunity charging only if the charger has temperature compensation. Record weekly specific gravity and voltage trends. For multi-shift operations, rotate between two batteries to prevent overwork.
When to Call Professionals
If your battery shows extreme heat during charging, acid boil-over, or sulfur smell, stop immediately—these signal internal short circuits. Professional reconditioning services use pulse conditioning equipment that applies high-frequency waveforms to dissolve stubborn sulfate. They also have proper disposal channels for electrolytes. At minimum, have a certified technician inspect your reconditioning results before returning the battery to active duty.
Reconditioning is a viable strategy, but it’s not a miracle cure. Track every cycle’s data to make informed decisions. If your operation demands high uptime or frequent fast charging, evaluate modern alternatives. While reconditioning adds 1–2 years of service, advanced battery systems like the Liftron DL SERIES from Liftron Material Handling promise 10,000+ hours of maintenance-free operation—a compelling long-term option for warehouses and manufacturing plants. Weigh your labor costs, downtime risks, and energy efficiency before deciding. A well-executed reconditioning can buy time, but the ultimate best practice remains disciplined maintenance from day one.
Add a review
Your email address will not be published. Required fields are marked *