
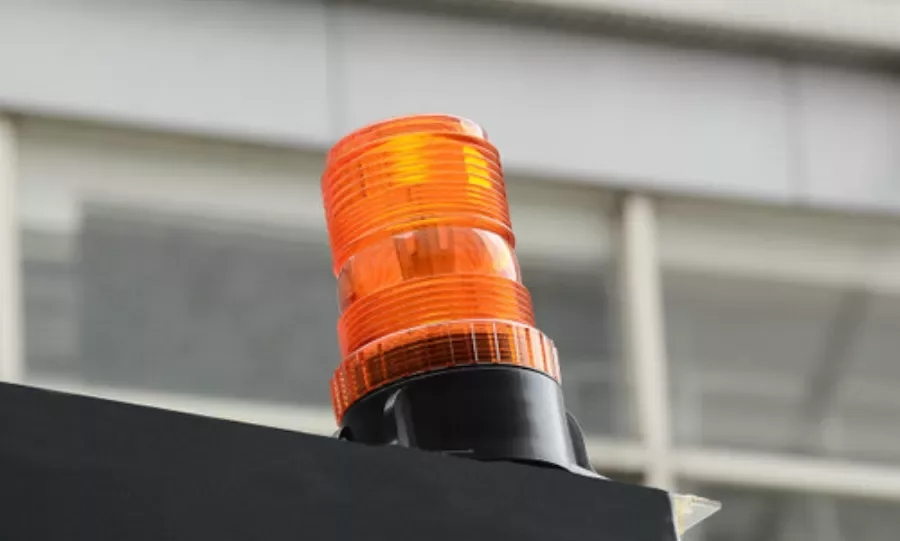
how to install a stobe light to an old forklift
Why Adding a Strobe Light to Your Forklift Improves Safety and Compliance
Upgrading an older forklift with a strobe light is one of the most cost-effective ways to enhance visibility in busy warehouses, loading docks, and outdoor yards. A high-intensity strobe alerts pedestrians, other vehicle operators, and forklift spotters to your machine’s presence, especially in low-light conditions or around blind corners. While modern forklifts often come with integrated lighting, older models can benefit from a simple aftermarket installation that takes roughly one to two hours and requires only basic hand tools.
Tools and Materials You’ll Need
Before starting, gather the following items. Most can be purchased at an automotive parts store or online from specialty suppliers like Liftron Material Handling, which offers robust lighting accessories designed for industrial vehicles.
- Strobe light kit (LED recommended for low power draw and long lifespan)
- 12V or 24V power source – check your forklift’s electrical system voltage
- In-line fuse holder with a 5-amp or 10-amp fuse
- Wire strippers/cutters
- Electrical tape and heat-shrink tubing
- Ring terminals and butt connectors
- Zip ties and adhesive cable mounts
- Drill with metal drill bits (if no existing mounting hole)
- Multimeter (for testing)
- Safety glasses and gloves
Step 1: Choose the Right Mounting Location
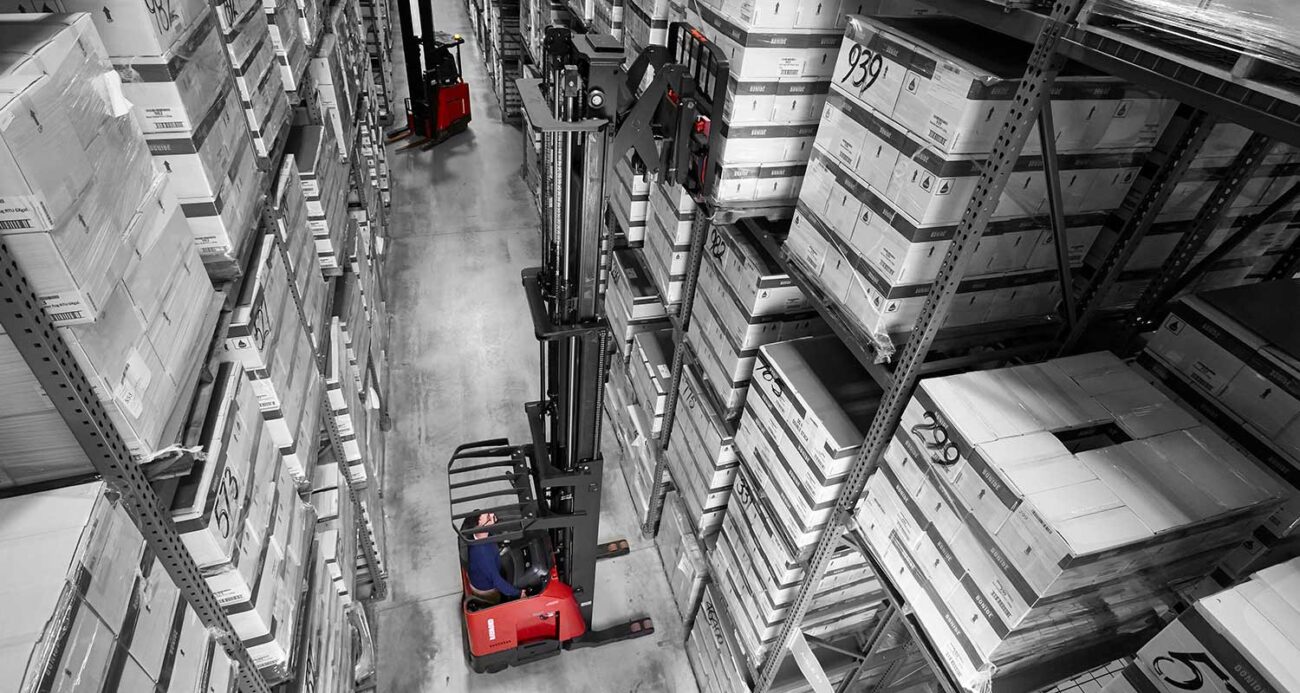
The strobe light should be mounted where it is most visible to oncoming traffic. For counterbalance forklifts, the top of the overhead guard is the preferred position because it provides a 360-degree visibility radius. For reach trucks or narrow-aisle models, consider mounting on the rear counterweight or the top corner of the mast. Ensure the location does not interfere with the operator’s line of sight or the movement of the mast, chains, or hoses. Also avoid areas where the light might be struck by overhead loads or doorways.
Surface Preparation
Clean the mounting surface with a degreaser to remove oil and dirt. If you are drilling a new hole, mark the center, use a center punch to prevent the bit from wandering, and drill a pilot hole before widening to the correct diameter. Deburr the hole and apply a rust inhibitor to exposed metal.
Step 2: Locate the Power Source
Most older forklifts operate on a 12-volt or 24-volt DC electrical system. You have two main options for wiring: connect directly to the battery or tap into an existing switched circuit (such as the headlight or ignition circuit). The safest method is to wire the strobe through an ignition-switched relay so the light automatically turns off when the forklift is shut down, preventing battery drain.
Finding a Switched Circuit
Use a multimeter to locate a wire that shows 0V when the key is off and battery voltage when the key is on. Common locations include the ignition switch harness, the fuse box, or the headlight relay. Avoid circuits that power the engine control unit or safety interlocks.
Step 3: Run the Wiring
Route the positive (red) wire from the strobe light along the overhead guard or mast, using zip ties and adhesive mounts every 6–8 inches to secure it. Keep wiring away from moving parts, hot surfaces, and pinch points. Run the negative (black) wire to a clean chassis ground point – typically a bolt on the forklift frame that is free of paint. Use a ring terminal and tighten securely.
Fuse Protection
Install the in-line fuse holder as close to the power source as possible (within 12 inches). This protects the entire wiring run from short circuits. Choose a fuse rating slightly above the strobe’s current draw – for a typical 20W LED strobe, a 5-amp fuse is sufficient.
Step 4: Connect the Power
If tapping into a switched circuit, strip the insulation from the existing wire, slide on a butt connector, and crimp the strobe’s positive wire together. Alternatively, use a T-tap connector for a non-invasive splice. For a direct battery connection, attach the fuse holder’s wire to the battery positive terminal with a ring terminal, and connect the strobe’s negative wire to the battery negative terminal or a clean chassis ground.
Testing the Connection
Turn the forklift key to the “on” position (do not start the engine if not needed). The strobe light should flash immediately. If it does not, check the fuse, test the ground connection, and verify voltage at the strobe’s input with a multimeter.
Step 5: Secure and Waterproof the Installation
Once the strobe works, apply heat-shrink tubing over all exposed connectors to prevent corrosion and short circuits. Use electrical tape for a second layer of protection. Tuck any excess wire into a weatherproof enclosure or use a wire loom to protect it from abrasion. Reinstall any panels or guards you removed during installation. Test the light again while moving the mast and steering through their full range of motion to ensure no wire binding occurs.
Common Installation Mistakes to Avoid
| Mistake | Consequence | Prevention |
|---|---|---|
| Wiring the strobe to a constant battery source | Dead battery overnight | Use an ignition-switched circuit |
| Skipping the in-line fuse | Electrical fire or damaged harness | Always use a properly rated fuse |
| Mounting where the strobe is hidden by the mast | Reduced visibility | Test the light from operator and pedestrian positions |
| Using household electrical tape | Corrosion and short circuits | Use marine-grade heat shrink and automotive tape |
| Drilling into the overhead guard without checking behind | Damage to hydraulic lines | Always verify there are no obstructions |
Upgrading to a Complete Lighting Package
While a strobe light dramatically improves safety, older forklifts often benefit from additional lighting upgrades, such as LED headlights, rear work lights, and blue spot lights that project a warning zone on the floor. Many operators pair a strobe with a blue light for maximum visibility in busy environments. For a comprehensive solution, consider forklifts from the Liftron DL SERIES. These modern machines come pre-wired with multiple lighting options, integrated strobes, and advanced safety features – eliminating the need for retrofits entirely. However, for existing equipment, the installation steps above are straightforward and follow the same principles used by professional technicians at Liftron Material Handling.
Final Safety Check and Maintenance
After installation, test the strobe in various operating conditions – indoors under fluorescent lights, outdoors in direct sunlight, and at night. Verify that the flash pattern is visible from at least 100 feet. Record the installation date and inspect the wiring every 3–6 months for signs of chafing, corrosion, or loose connections. Replace the LED module if the intensity dims over time. Keep a spare fuse and a small tool kit on the forklift for quick field repairs. With proper installation, a strobe light will last for years and significantly reduce the risk of accidents in your facility.
Always consult your forklift’s service manual and follow OSHA regulations regarding lighting modifications. If you are unsure about the electrical system, hire a certified technician. The task is simple and rewarding, and the added safety margin is invaluable.



Add a review
Your email address will not be published. Required fields are marked *