
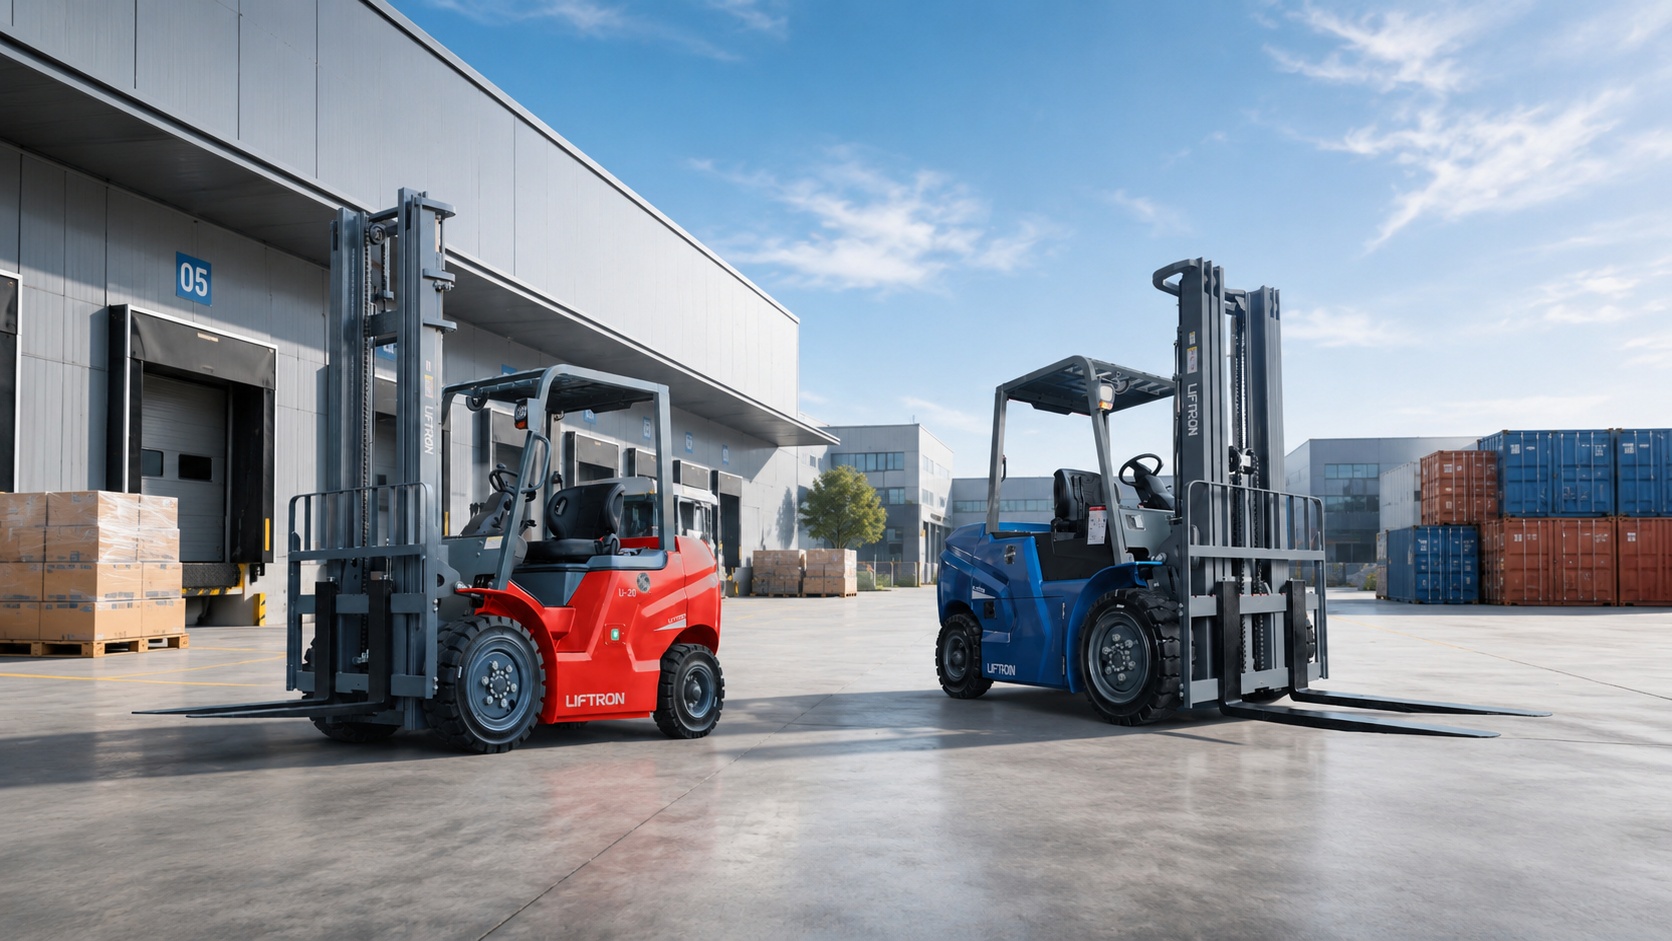
how to replace liftron forklift mast bearings
Understanding Liftron Forklift Mast Bearing Wear
Forklift mast bearings are critical components that ensure smooth vertical movement of the carriage and forks. When these bearings fail, operators experience jerky lifting, unusual noises, and increased wear on the mast rails. Replacing mast bearings on a Liftron forklift requires mechanical aptitude, proper safety protocols, and the right parts. This guide walks you through the entire process, from identifying symptoms to completing the installation, while highlighting why genuine components from Liftron Material Handling deliver superior longevity and performance.
Signs Your Mast Bearings Need Replacement
Before starting the replacement, confirm that bearings are indeed the culprit. Common indicators include:
- Grinding or rumbling sounds during mast operation
- Visible play or side-to-side movement of the carriage
- Uneven wear patterns on the mast channel surfaces
- Hydraulic cylinders straining or slowing during lift
- Metal shavings or debris found in the mast area
If you notice any of these, inspect the bearing rollers for flat spots, cracks, or excessive looseness. The Liftron DL SERIES forklifts often feature sealed bearings that require specialized removal tools, so plan accordingly.
Tools and Safety Preparations
Proper preparation prevents injuries and equipment damage. Gather the following tools before raising the mast:
| Tool Category | Specific Items |
|---|---|
| Safety Equipment | Safety glasses, steel-toe boots, work gloves, overhead crane or mast support stand |
| Hand Tools | Socket set (metric), torque wrench, pry bar, brass drift punch, bearing puller |
| Specialty Tools | Mast alignment gauge, snap ring pliers, hydraulic jack for carriage support |
| Consumables | Clean rags, anti-seize compound, thread locker (medium strength), new cotter pins |
Always chock the drive wheels, engage the parking brake, and lower the forks fully. Disconnect the battery to prevent accidental hydraulic or electrical activation. If the mast is tilted, secure it with a safety chain or a dedicated mast support bracket before loosening any bearing fasteners.
Step-by-Step Replacement Procedure for Liftron Mast Bearings
1. Position and Support the Carriage
Raise the forks about 6-12 inches off the ground using the hydraulic controls. Place a sturdy wooden block or jack stand beneath the carriage to take weight off the mast bearings. Never rely solely on hydraulic pressure – always use mechanical supports. For the Liftron Material Handling models with integrated side shift, you may need to remove the shift cylinder bolts to access the lower bearings.
2. Remove the Carriage and Fork Assembly
Detach the fork carriage from the mast chains or load rollers. In most Liftron models, the carriage is held by two top and two bottom bearing sets. Using a pry bar, gently lift the carriage off the mast rails. If the carriage is heavy, attach an overhead crane or use a second jack. Set the carriage aside on a flat surface, taking care not to damage the hydraulic hoses.
3. Extract the Old Mast Bearings
Each bearing assembly typically consists of a roller, a stud, and a retaining clip or bolt. Use a bearing puller to remove press-fit bearings. For bolted types, loosen the locknut and tap the stud with a brass drift. Inspect the mounting holes for ovalization – if elongated, the mast rail may need repair or replacement before installing new bearings.
4. Clean and Inspect the Mast Rails
Thoroughly clean the bearing contact surfaces with a degreaser. Look for scoring, rust pits, or weld splatter. Light surface rust can be removed with emery cloth. Deep gouges will cause premature bearing failure – consult a professional welder or replace the mast section if necessary. Measure the rail width with calipers to verify it aligns with the original bearing specifications.
5. Install New Bearings
Apply a thin layer of anti-seize to the bearing studs, then position the new bearing in the mounting hole. For press-fit bearings, use an arbor press or a socket slightly smaller than the bearing race to drive them in evenly. Torque all bolts to the manufacturer’s specification – typically 30-35 ft-lbs for medium-duty models. Use thread locker on fasteners that vibrate loose.
6. Reassemble the Carriage and Mast
Carefully slide the carriage back onto the mast rails, ensuring the bearings align with the channels. Apply grease to the bearing roller surfaces. Reconnect the chain pins or load rollers. If your model has adjustable shims, reinstall them in their original positions to maintain proper preload. Cycle the mast fully up and down to check for smooth movement.
Torque Specifications and Bearing Adjustment Tips
Incorrect torque is a leading cause of premature bearing failure. For standard Liftron masts (2-stage and 3-stage), use the following reference values, but always verify with your operator’s manual:
| Bearing Position | Bolt Size | Torque (ft-lbs) |
|---|---|---|
| Top Bearing (carriage) | M12 | 55-60 |
| Bottom Bearing (carriage) | M10 | 30-35 |
| Mast Roller (rail-mounted) | M14 | 70-75 |
After torquing, check the lateral clearance between the bearing roller and the mast rail – it should be 0.5 to 1.5 mm. Too tight causes binding; too loose creates sloppy carriage movement. For exact specifications, refer to the service literature for your specific Liftron DL SERIES model, as lithium-ion models may have slightly different roller diameters.
Post-Installation Testing and Maintenance
Once everything is reassembled, conduct a functional test without any load. Raise the mast to full height and lower it slowly, listening for any grinding or clicking. Verify that the carriage tilts freely and that the side shift operates smoothly. Then perform a loaded test with 50% and 100% rated capacity to ensure the bearings hold alignment under stress. Re-torque all fasteners after 10 hours of operation, as new bearings often settle.
To extend the life of your new mast bearings, implement a lubrication schedule. While many Liftron Material Handling bearings are greased for life, those with zerk fittings require a few pumps of lithium-based grease every 100 hours. Keep the mast rails clean and lightly oiled to reduce friction and prevent rust.
When to Call a Professional Versus DIY
While this guide covers standard bearing replacement, certain situations warrant professional intervention. If the mast has been involved in an accident, if you notice bent rails, or if the hydraulic cylinders show signs of leakage, have a certified technician assess the entire mast assembly. Additionally, some Liftron DL SERIES models feature integrated bearing carriages that require specialized jigs for removal – attempting a DIY replacement on these without the proper fixture can damage the rail surface.
Replacing mast bearings on your own can save significant labor costs – typically $300-$700 depending on the number of bearings and accessibility. However, always weigh that against the risk of incorrect installation causing unsafe forklift operation. If you feel uncertain at any stage, stop and consult a professional. A correctly replaced bearing set will restore smooth lifting performance and extend the overall lifespan of your Liftron forklift for many more years of reliable service.
Add a review
Your email address will not be published. Required fields are marked *