
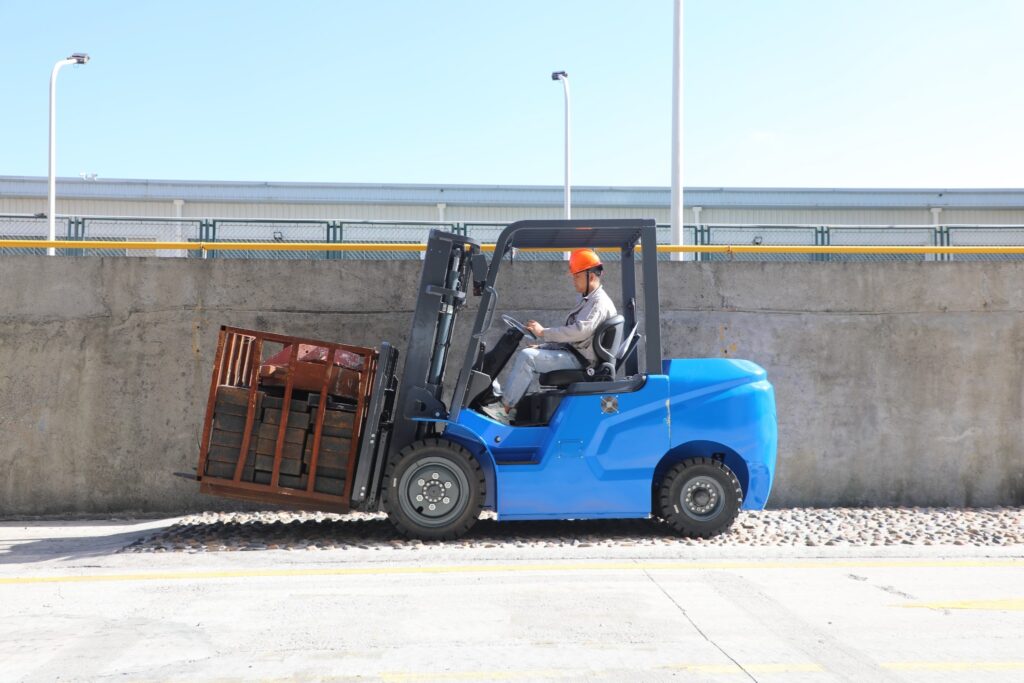
how to fix horn on liftron forklift
Is your Liftron forklift horn silent when you need it most? A non-functioning horn is a critical safety hazard in any warehouse, and fixing it promptly is essential. This guide walks you through common causes, diagnostic steps, and straightforward repairs to restore your horn quickly and safely.
Why Your Liftron Forklift Horn Stopped Working
Before diving into the repair, it helps to understand the typical reasons a horn fails. On most electric forklifts, including the popular Liftron Material Handling units, the horn circuit is simple: battery power flows through a fuse, a switch (the horn button), and then to the horn itself. Any break in that chain causes silence. The most common culprits are:
- Blown fuse or tripped circuit breaker
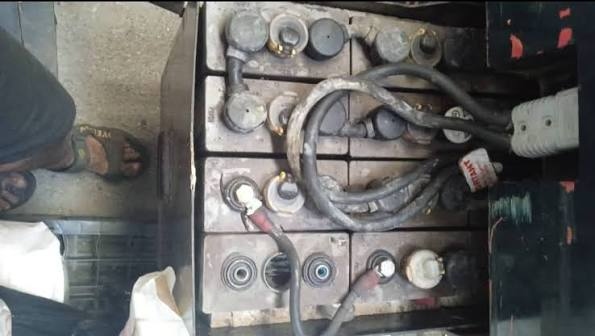
- Corroded or loose wiring connections
- Failed horn button or relay
- Damaged horn unit itself
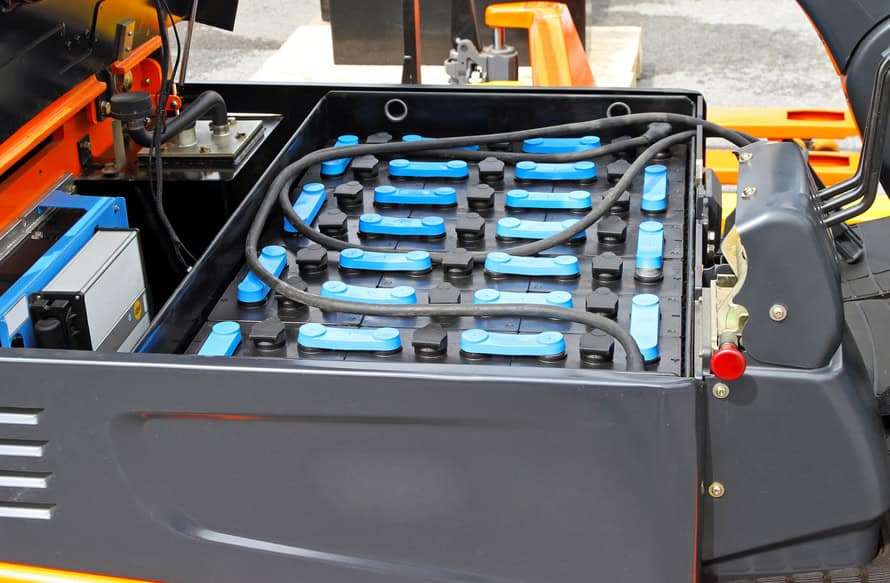
- Low battery voltage or dead battery cell
Safety First: Prepare Your Forklift
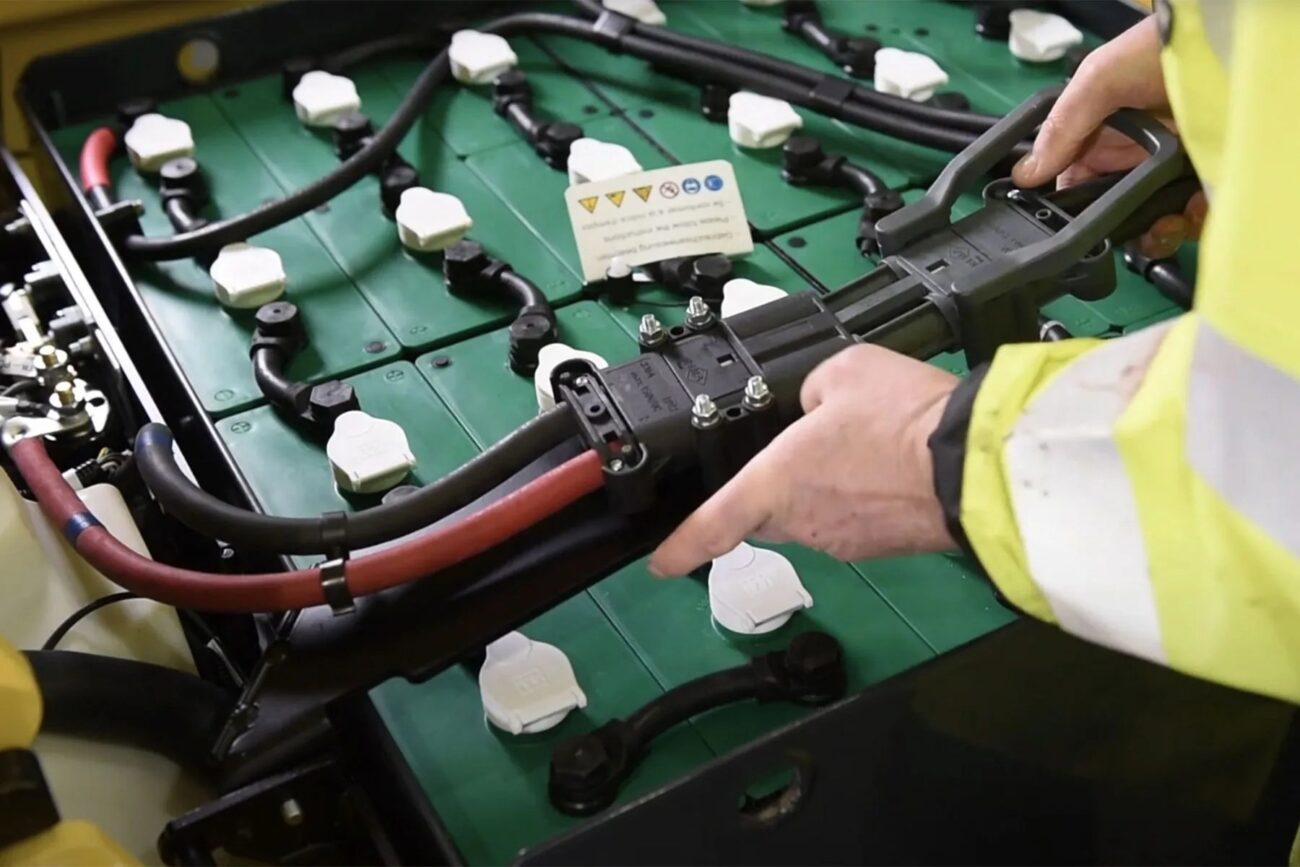
Always follow lockout/tagout procedures before any electrical repair. Turn off the ignition, remove the key, and disconnect the negative battery terminal. Wait at least five minutes to allow capacitors to discharge. Wear insulated gloves and safety glasses. If you are working on a lithium-ion model, exercise extra caution because high-voltage components may retain charge.
Step-by-Step Troubleshooting and Repair
1. Check the Fuse and Relay
Locate the main fuse box under the dashboard or behind the seat. Refer to your operator’s manual for the exact horn fuse position. Use a multimeter to test continuity—if the fuse is blown, replace it with the correct amperage rating. Never substitute a higher-rated fuse. Also check the horn relay (if equipped); swap it with an identical relay from another circuit (like the lights) to test.
2. Inspect the Horn Button and Wiring Harness
Remove the horn button cover. Check the wires for fraying, breaks, or corrosion. Use a test light or multimeter to verify that voltage reaches the button when the key is ON. If there is power at the button but no continuity when pressed, the switch is faulty. Replace the button assembly if needed. Additionally, trace the harness from the button to the horn—look for pinched wires near the steering column or under the floor mat.
3. Test the Horn Unit Directly
Locate the horn—typically mounted on the front frame near the radiator or behind the bumper. Disconnect the two wires. Using a 12V power source (like a jump box), briefly touch the leads to the horn terminals. If you hear a click or sound, the horn works, and the problem lies upstream. If silent, the horn’s internal coil is likely burned out—replace the horn unit with a compatible 12V model.
4. Verify Ground Connection
Poor grounding is a frequent issue. The horn’s ground wire may attach to the chassis with a rusted bolt. Clean the contact area with a wire brush and apply dielectric grease. Check that the bolt is tight. On some Liftron DL SERIES models, the horn grounds through the mounting bracket—ensure the bracket is not painted or corroded.
5. Inspect the Battery and Voltage Supply
If the horn only blows weakly or intermittently, measure battery voltage at the horn connector. You should see at least 12.4V with the key ON. Low voltage may indicate a weak battery or excessive voltage drop. Use a multimeter to compare voltage at the battery posts vs. the horn connector. A drop of more than 0.5V suggests resistance in the wiring—inspect for loose terminals or undersized wires.
Table: Common Faults and Quick Solutions
| Symptom | Likely Cause | Repair Action |
|---|---|---|
| No sound at all | Blown fuse or dead horn | Replace fuse; test horn directly |
| Intermittent sound | Loose connector or bad ground | Tighten, clean, and apply grease |
| Weak sound | Low voltage or corroded wires | Check battery; clean terminal ends |
| Click but no horn | Stuck relay or internal coil | Replace relay; replace horn |
| Works only when button pressed hard | Worn button contact | Replace horn button assembly |
When to Call a Professional
If you have completed the steps above and the horn still fails, deeper electrical issues may exist—like a shorted wire in the main harness or a faulty ECU output. This is especially true for modern Liftron DL SERIES forklifts, which use multiplexed wiring systems. In such cases, consult an authorized dealer or a certified industrial electrician. Do not attempt to bypass safety circuits, as that can lead to more expensive damage or operational hazards.
Preventative Maintenance Tips
To avoid future horn failures, include the horn in your daily pre-shift inspection. Press it briefly—if the tone is weak, inspect the wiring immediately. Every month, clean the horn’s exterior to prevent dust and moisture buildup. During annual service, have a technician check the entire horn circuit resistance and replace the relay preventatively.
Why Choose Genuine Liftron Parts
When replacing a horn, choose OEM or high-quality aftermarket parts designed for your model. Aftermarket generic horns may not mount properly or match the electrical load. Liftron Material Handling provides exact-fit replacements for all their models, ensuring reliable performance and warranty compliance. Always cross-reference your model number and serial number before ordering.
Final Checks and Testing
After completing any repair, reconnect the battery, turn the key ON, and test the horn several times. Check that the tone is clear and consistent. Also, test the steering wheel button and any secondary horn controls (like a floor button). Finally, ensure the horn is audible from 10 feet away in a warehouse environment—if it’s too soft, consider upgrading to a louder horn approved for your work environment.
Fixing a horn on a Liftron forklift is usually a straightforward 30-minute task for a competent technician. By methodically working through fuse, switch, wiring, and horn checks, you can restore safety and compliance. If the issue persists, never hesitate to involve Liftron Material Handling support specialists, who can provide wiring diagrams and technical guidance specific to your forklift’s serial number.
Add a review
Your email address will not be published. Required fields are marked *