

Replace the Brakes on a Yamaha Golf Cart: Tools, Steps, and Testing
To replace Yamaha golf cart brakes: safely jack and support the rear, remove the drums, install new shoes and springs, adjust the star wheel to slight, even drag, then road-test for straight, quiet stops.
Whether you maintain a fleet or a single cruiser, a well-set brake system is non-negotiable for any golf cart. Most Yamaha models (gas and electric) use mechanical rear drum brakes actuated by cables and a parking-brake linkage. The roadmap below focuses on those systems—clean, replace, adjust, and test—so you restore smooth, straight, and quiet stopping performance.
What Tools and Materials Are Needed to Replace Yamaha Golf Cart Brakes?
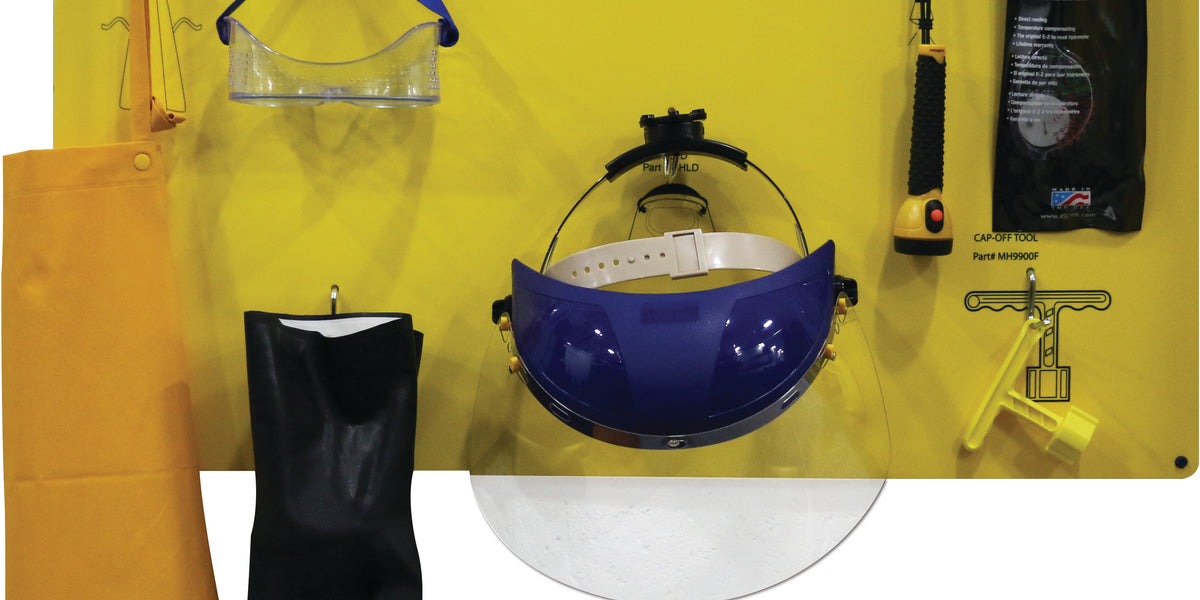
- Safety & support: Wheel chocks, hydraulic jack, two jack stands, gloves, eye protection.
- Hand tools: Lug wrench or impact with socket, metric socket set, torque wrench, flat and Phillips screwdrivers, needle-nose pliers, brake spring pliers (or hook tool), rubber mallet.
- Cleaning & lube: Brake cleaner (non-chlorinated), shop rags, small wire brush, high-temp brake grease (very small amount for backing-plate contact points), anti-seize for wheel studs (optional, minimal).
- Replacement parts: New brake shoes, return/hold-down springs and pins, adjuster hardware (star wheel/lever as needed), hub-drum (if worn or out-of-round), new cotter pin for axle nut (if applicable), new cable(s) if frayed or seized.
- Measuring aids: Vernier caliper or inside mic for drum ID, straightedge/marker for reference, dial indicator (optional) for runout.
Step-by-Step: How to Replace Yamaha Drum Brake Shoes
- Prep & secure: Park on level ground. Key off. If electric, set Tow/Run to Tow. Chock the front wheels. Slightly loosen rear lug nuts, then jack up the rear and support the frame with jack stands. Remove wheels.
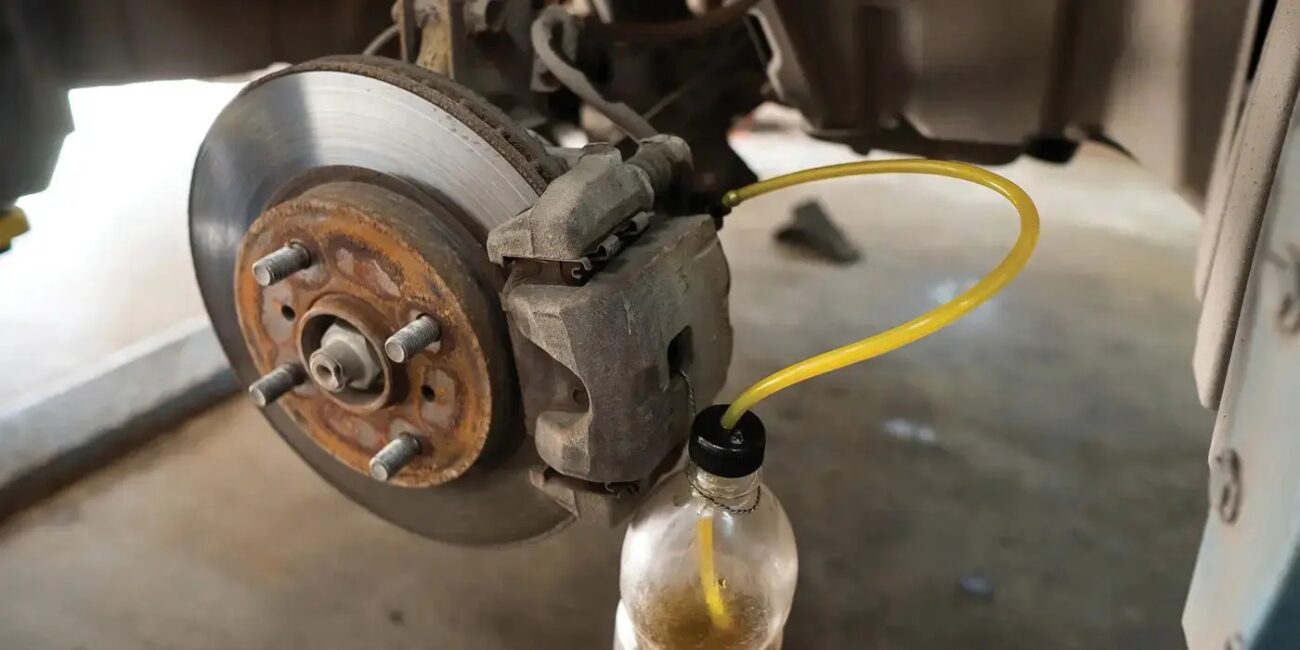
- Remove the drum: Many Yamaha hub/drums slide off the axle splines. If stuck, back the adjuster off through the inspection slot (turn star wheel to retract shoes), tap the drum’s face evenly with a rubber mallet, and pull straight off. Avoid prying on the backing plate.
- Document layout: Take a photo of springs, adjuster, and leading/trailing shoe orientation. This prevents mix-ups during reassembly.
- Disassemble hardware: Remove hold-down pins/springs, then the return springs with brake spring pliers. Lift shoes off the anchor. Transfer the adjuster lever, star wheel, and any parking-brake lever to the new shoes exactly as the original.
- Clean & inspect: Brush away dust (do not blow with compressed air). Spray brake cleaner on the backing plate and inside the drum. Inspect the drum for scoring, heat spots, or a large ridge. Replace or machine if out of spec.
- Lube contact points: Apply a tiny smear of high-temp brake grease to the six shoe contact pads on the backing plate. Do not get grease on lining surfaces.
- Install new shoes: Position shoes on the anchor and adjuster, then install hold-down pins/springs. Fit return springs in the same holes/orientation as original. Ensure the adjuster star wheel is oriented for access through the slot.
- Refit drum & set initial adjustment: Slide the drum on. If it won’t seat, back off the adjuster a few clicks. Spin the drum by hand and expand the adjuster until you feel a slight, even drag. Repeat on the opposite side.
- Brake cable balance: With both drums adjusted to light drag, use the cable equalizer (under the cart near the transaxle) to ensure both sides engage simultaneously. The pedal should have firm travel without bottoming out.
- Reinstall wheels: Mount wheels and snug lugs in a star pattern. Lower the cart and torque lug nuts to the manufacturer spec (commonly 55–75 ft-lb; check your model). Re-engage Run mode (electric models).
Post-Install Adjustments & Break-In
- Fine adjust: With the rear wheels off the ground, spin and click the star wheel until each drum has light, consistent drag. Equal drag side-to-side reduces pull.
- Seat the shoes: Perform 8–10 moderate stops from ~10–12 mph in a safe area. Allow brief cooling between stops. Avoid hard braking during the first few miles to prevent glazing.
How Do You Test the Brakes on a Yamaha Golf Cart After Replacement?
- Static test: On stands, press the pedal and confirm both wheels stop firmly. Release and verify free rotation with no scraping beyond a gentle brush.
- Low-speed roll: In an open, flat area, accelerate to 5 mph and brake to a stop. The cart should track straight, without pull or chatter. Repeat at 8–10 mph.
- Parking brake check: On a slight grade, set the parking brake; the cart should hold firmly without creep. If not, tweak the cable equalizer and re-test.
- Heat and noise review: After a short loop, cautiously feel near (not on) each drum. Temperatures should be similar side-to-side, with no burning smell or smoke.
- Re-torque: After the first drive, re-check lug nut torque.
Troubleshooting Common Brake Issues
- Long pedal travel: Shoes under-adjusted or cable slack. Add a few clicks on the star wheel and reset cable tension.
- Pull to one side: Unequal drag, contaminated lining, or seized cable on the “weak” side. Clean, re-adjust, or replace cable as needed.
- Squeal or chatter: Glazed shoes/drum. Lightly scuff the drum (cross-hatch) and verify spring seating and shoe contact lubrication points.
- Persistent heat on one wheel: Over-tight adjustment or sticking lever. Back off the adjuster and ensure return springs/lever move freely.
Pro Tips for Longevity
- Keep tire pressures equal—uneven PSI can mimic brake pull.
- After wet conditions, do a few gentle stops to dry the linings.
- Inspect cables and boots during routine service; replace frayed or rusty parts early.
Bottom Line
With the right tools, clear photos for reference, and careful adjustment, replacing Yamaha drum shoes is a straightforward weekend job. Clean thoroughly, set both sides to equal light drag, balance the cable, and perform a proper break-in. Finish with controlled testing, and your Yamaha will stop straight, quiet, and confidently on every ride.


Add a review
Your email address will not be published. Required fields are marked *