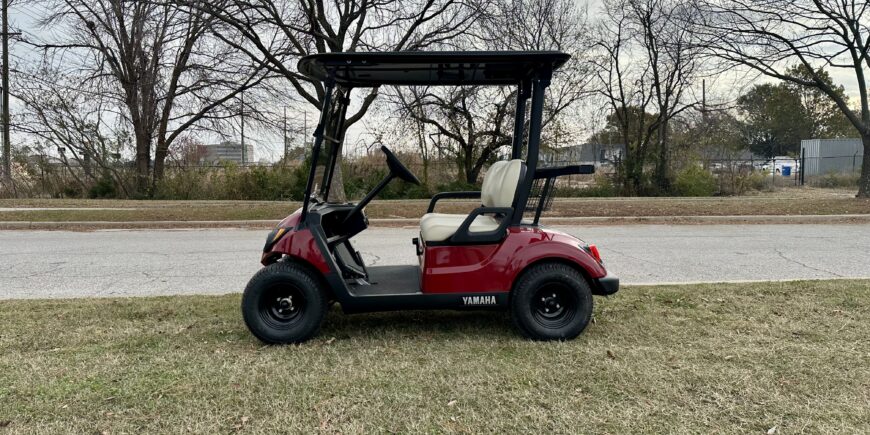
How to Adjust the Brakes on a 1992 EZGO Golf Cart
Adjusting the brakes on your 1992 EZGO golf cart is essential to maintain the safety and performance of your vehicle. Regular brake maintenance ensures smoother rides and longer-lasting parts. This article will guide you through the process of adjusting the brakes, focusing on three key steps: adjusting the brake shoes, adjusting the brake cables, and testing the system for proper operation.
Step 1: Adjusting the Brake Shoes on a 1992 EZGO Golf Cart
The first step in adjusting the brakes on your 1992 EZGO golf cart is ensuring the brake shoes are properly adjusted. Over time, the brake shoes can wear down, causing them to be less effective. Here’s how you can adjust the brake shoes:
- Lift the Cart: Start by lifting the rear of your golf cart using a jack, ensuring that the cart is secure and won't tip over while you’re working on it.
- Remove the Wheels: Once the cart is raised, remove the wheels to access the brake components. Make sure the brake pedal is not engaged while doing this.
- Locate the Brake Shoes: With the wheels removed, you will see the brake drum and the brake shoes inside it. Check for any wear and tear on the brake shoes. If the shoes are excessively worn, consider replacing them before adjusting.
- Adjust the Brake Shoes: Using a brake shoe adjustment tool, you will need to turn the adjuster to move the shoes closer to the brake drum. Turn the adjuster clockwise to expand the brake shoes, but do this gradually to avoid over-tightening.
- Check the Drum Fit: After making adjustments, check the drum to ensure it rotates freely without dragging. If the drum feels tight, adjust the shoes slightly to provide some clearance.
Once you have adjusted the brake shoes, move on to the next step to fine-tune the brake cable system.
Step 2: Adjusting the Brake Cables
Brake cables are responsible for transferring the force you apply to the brake pedal to the brakes themselves. Over time, these cables can stretch or become loose, reducing the effectiveness of your braking system. Adjusting the brake cables on your 1992 EZGO golf cart will help restore optimal performance. Follow these steps:
- Locate the Brake Cables: The brake cables are attached to the brake shoes and run along the rear axle. You’ll need to locate the adjusting nuts on each side of the cart near the brake drums.
- Loosen the Lock Nuts: Using a wrench, loosen the lock nuts on the brake cables. These nuts keep the cable tension in place, so you’ll need to loosen them before making any adjustments.
- Adjust the Cable Tension: Use a wrench to adjust the tension of the brake cables. Tighten the nuts slowly, ensuring the cables are tight but not overly so. There should be enough tension to engage the brake shoes but not so much that the brakes drag on the drums.
- Test for Correct Tension: After adjusting the cables, press the brake pedal to check for proper tension. The pedal should feel firm but not too hard to press. If the pedal feels too soft, tighten the cables further; if it feels too stiff, loosen the cables slightly.
Properly adjusted cables will ensure that your brake shoes engage fully when the pedal is pressed, offering better stopping power.
Step 3: Testing and Final Adjustments
Once the brake shoes and cables are adjusted, it’s time to test your 1992 EZGO golf cart’s braking system to ensure it functions properly. Follow these steps to make final adjustments and verify everything is in working order:
- Reassemble the Cart: After adjusting the brake shoes and cables, reassemble the cart by replacing the wheels. Ensure that all bolts are tightened securely and that the brake components are properly reattached.
- Lower the Cart: Carefully lower the cart to the ground and make sure it is stable. Be sure to check that the wheels are secure and that the cart is safely resting on the ground before testing the brakes.
- Test the Brakes: Start the cart and take it for a short test drive in a safe, controlled area. Gradually apply the brakes and check if they engage smoothly and without dragging. Listen for any unusual sounds such as squealing or grinding, which may indicate the need for further adjustments.
- Make Final Adjustments: If the brakes don’t feel right, adjust the brake shoes and cables slightly. You may need to fine-tune the tension or recheck the brake shoe clearance. After each adjustment, retest the brakes to ensure they are working correctly.
- Check for Proper Function: When the brakes are working properly, the pedal should feel firm and the cart should stop smoothly. Make sure the brakes hold when you release the pedal, indicating that they’re properly adjusted.
Conclusion
Adjusting the brakes on your 1992 EZGO golf cart is an important maintenance task that will help keep your cart in optimal condition and ensure your safety while driving. By following these steps—adjusting the brake shoes, tightening the brake cables, and testing the system—you can maintain a smooth, responsive braking system. Regular maintenance of the brakes will help extend the life of your golf cart and keep it running efficiently.


Add a review
Your email address will not be published. Required fields are marked *