
How to Remove Water from an ATV Engine: A Step-by-Step Guide
If your ATV engine has water inside, it’s crucial to act quickly to prevent damage. This guide explains how to properly remove water from your ATV engine and important precautions to take.
Why Water in an ATV Engine is a Problem
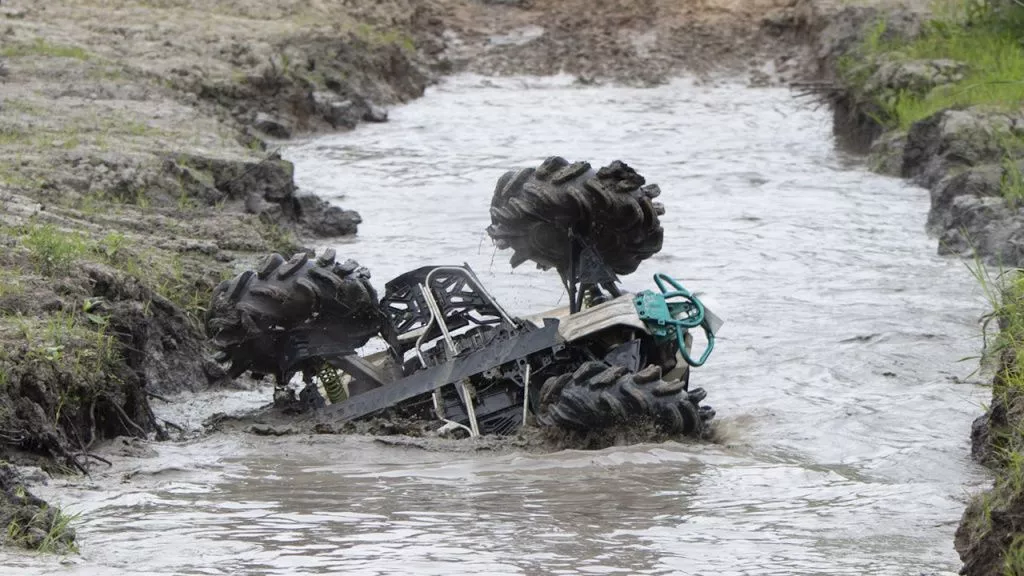
Water entering an ATV engine can cause serious issues such as corrosion, poor lubrication, and engine failure. Water mixes with engine oil and can damage internal components if not removed promptly. Whether from riding through deep water, heavy rain, or flooding, removing water is vital for maintaining your ATV’s performance and longevity.
How to Remove Water from an ATV Engine
To clear water from your ATV engine, the first step is usually to drain both the oil and the carburetor. Both components typically have drain screws that allow water and oil to be expelled. If your ATV lacks drain screws, you will need to open the oil pan and carburetor to fully drain the fluids.
Steps to Drain Oil and Carburetor
- Drain the Oil: Place a container beneath the oil drain plug, remove the plug, and drain the contaminated oil completely.
- Drain the Carburetor: Locate the carburetor drain screw and open it to let water and fuel drain out. If there’s no drain screw, remove and disassemble the carburetor for thorough cleaning.
- Remove the Carburetor: Carefully detach the carburetor from the engine, then disassemble it to inspect for trapped water or debris. Clean and dry all parts before reassembling.
Flush ATV Motor with Gas to Remove Water?
A common question is: “Can I flush the ATV motor with gasoline to remove water?”
Flushing your ATV engine with gasoline to remove water is not recommended. Gasoline is highly flammable and can cause damage if used improperly for flushing. It also does not effectively separate water from engine oil and internal components.
Instead, use diesel fuel or a specialized engine flush solution designed to remove water and contaminants from the engine and oil system. These products are formulated to safely break down water and help expel it from the engine.
Important Steps After Removing Water
- Change Engine Oil and Filter: After draining and flushing, replace the engine oil and oil filter immediately to remove any remaining water and contaminants.
- Check Spark Plug: Inspect and dry or replace the spark plug, as water may cause misfiring.
- Dry Air Filter: Remove and thoroughly dry or replace the air filter to prevent engine damage.
- Inspect Fuel Lines and Tank: Check for water contamination in the fuel system and replace fuel if necessary.
- Test the Engine: After reassembling, start the engine and monitor performance closely for any irregularities.
Precautions and Tips
- Always work in a well-ventilated area when handling fuels and engine fluids.
- Wear protective gloves and eye protection during maintenance.
- Dispose of contaminated oil and fluids responsibly according to local regulations.
- Regularly inspect your ATV after water crossings or heavy rains to catch issues early.
- If unsure about any step, consult a professional or authorized mechanic to avoid further damage.
Conclusion
Removing water from your ATV engine promptly and correctly is essential to avoid costly damage. Draining the oil and carburetor, properly cleaning components, and using the right flushing agents like diesel or engine flush solutions ensures your ATV stays in good working condition. Remember to change your oil and filters and perform thorough inspections afterward. For detailed maintenance or complex problems, reach out to professional ATV dealers for expert advice and service.


Add a review
Your email address will not be published. Required fields are marked *