
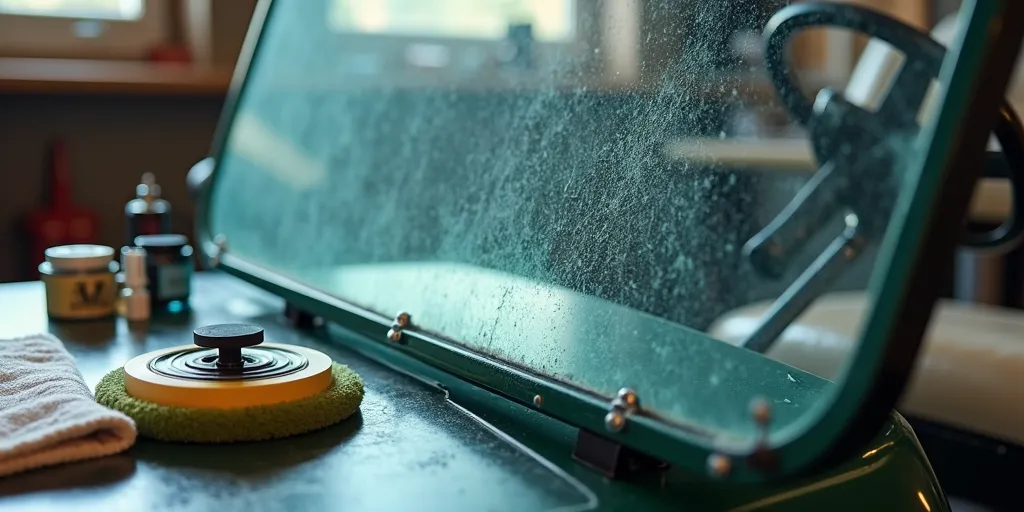
Get Scratches Out of a Golf Cart Windshield (DIY, Safe, and Effective)
Scratched plastic hurts visibility and comfort. Use this gentle, plastic-safe method to clear scuffs and restore the view from your golf cart windshield.
Why plastic needs a different approach
Most cart windshields are acrylic or polycarbonate. They scratch easier than glass and react poorly to harsh chemicals. The fix is a careful clean, then graduated polishing—only stepping up to wetsanding when damage is deeper. Patience and the right products beat aggressive rubbing every time.
What tools to prepare
- Rinse & wash: Low-pressure water or distilled-water spray bottle; pH-neutral car shampoo; clean wash bucket.
- Applicators: Plush microfiber wash mitt; several high-pile, edgeless microfiber towels reserved for plastic.
- Polish: Plastic-safe polishing compound or dedicated acrylic/polycarbonate scratch remover kit; soft foam hand pads.
- Optional machine: Dual-action polisher with finishing pad (use slow speed, light pressure).
- Wetsanding (for deeper scratches): Premium wet/dry paper in 1000, 1500, 2000, and 3000 grit; small foam sanding block; spray bottle with water + one drop of shampoo.
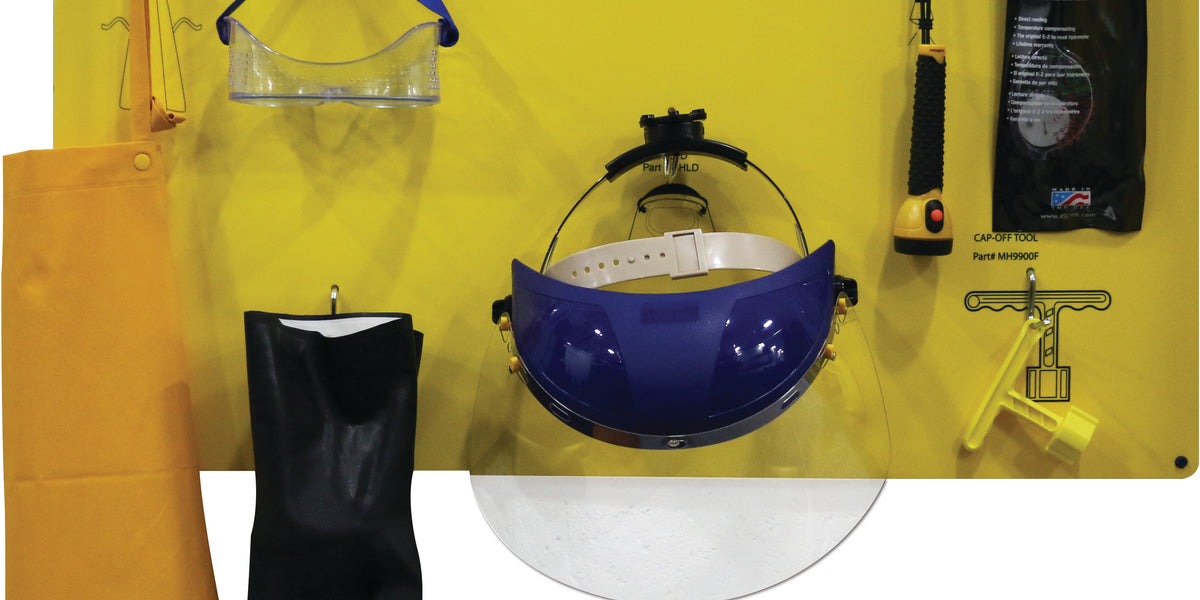
- Masking & safety: Low-tack painter’s tape for trim, nitrile gloves, eye protection.
- Protection (optional): Plastic sealant or anti-fog coating compatible with acrylic/polycarbonate.
For light scratches
- Pre-rinse. Flood the panel with low pressure (or mist heavily with distilled water) to float dust off without dragging grit.
- Gentle wash. Glide a soapy microfiber mitt in straight, overlapping lines from top to bottom. Rinse the mitt frequently.
- Final rinse & blot-dry. Sheet water over the surface, then blot (don’t rub) with a high-pile microfiber until dry.
- Spot test polish. In a lower corner, apply a pea-sized dot of plastic polish to a soft foam pad. Work a 12" × 12" section with light pressure in straight strokes. Avoid heat build-up.
- Polish the panel. Expand to adjacent sections, refreshing polish as needed. Several gentle passes are safer than one aggressive pass.
- Buff to clarity. Wipe residue with a fresh, dry microfiber. Inspect from different angles; repeat lightly where faint haze remains.
- Seal (optional). Apply a plastic sealant or anti-fog per directions to reduce future micro-marring and fogging.
For deeper scratches
If you can feel the scratch with a fingernail, step up to a careful wet-sand and polish. Work slowly; the goal is to level the scratch without creating distortion.
- Mask edges and hardware. Protect trim and hinges with low-tack tape.
- Soak the paper. Immerse 1000-grit paper in water for 10 minutes. Keep the surface flooded with your spray bottle during sanding.
- Block and guide. Wrap paper around a small foam block. Sand in straight, even passes along the length of the scratch using very light pressure. Keep the area wet; milky water means you’re removing material—good—just go slow.
- Cross-hatch refinement. Switch to 1500 grit and sand perpendicular to your first direction to remove the 1000-grit marks. Repeat with 2000, then 3000 grit, reducing pressure each step. The area will look uniformly matte—that’s expected.
- Polish back to clear. Apply plastic polish with a soft foam pad (or DA polisher on low). Work the refined zone slightly beyond the sanded area to blend. Wipe and inspect; repeat as needed.
- Finish & protect. Once clarity returns, remove tape, clean lightly, and apply a compatible plastic sealant.
Pro tips for the best results
- Shade and cool panels: Heat accelerates chemical reactions and can warp thin plastic; work out of direct sun.
- Fresh towels only: Dedicate “windshield-only” microfibers so compound or clay from paint work never touches plastic.
- Straight lines, not circles: Linear motion hides any residual marks better and reduces swirl holograms.
- Go gentle on polycarbonate: It’s tough but heat-sensitive. Low machine speed and minimal pressure are key.
- Know when to replace: Crazing (fine white cracks) or deep gouges near the hinge may not restore safely.
What to avoid
- Abrasive cleaners: No scouring powders, “Magic Eraser,” glass polishing compounds with cerium oxide, or rubbing compounds made for paint.
- Scratchy materials: Skip paper towels, old T-shirts, or gritty shop rags. Use plush, edgeless microfiber only.
- Harsh chemicals: Avoid ammonia, acetone, lacquer thinner, gasoline, strong alcohols, and citrus solvents; they cloud or crack plastic.
- High RPM & heat: Never lean on a rotary buffer; melting and warping happen fast on thin acrylic or polycarbonate.
Troubleshooting
- Uniform haze after sanding: You stopped too early. Continue with 3000-grit, then polish thoroughly.
- Swirls or “rainbowing” after polishing: Use a softer finishing pad, lighter pressure, and more working time; wipe with a fresh microfiber.
- Persistent deep line: Repeat the 1500→2000→3000 sequence, but limit the sanded footprint; excessive leveling can create optical distortion.
Quick checklist
- Rinse, gentle wash, and blot-dry.
- Light scratches: plastic polish → gentle, overlapping strokes → buff → (optional) seal.
- Deep scratches: wet-sand 1000→1500→2000→3000 (light pressure, very wet) → polish → buff → seal.
- Avoid harsh chemicals, scratchy towels, and heat.
With patient surface prep, the right plastic polish, and careful wet-sanding when necessary, you can safely restore clarity to your windshield and enjoy a clearer, safer ride in your golf cart.

Add a review
Your email address will not be published. Required fields are marked *