
Install Lead-Acid Batteries in a Golf Cart: Safe Removal, Wiring, and Testing
Installing new lead-acid batteries restores range and reliability. Use this step-by-step guide to replace, wire, and test your golf cart safely.
Overview
To install lead-acid batteries in a golf cart, first gather safety gear and the new batteries, power off and disconnect the old pack, remove hold-downs, clean the compartment, then place and connect the new batteries in the correct series (or parallel, if specified) configuration. Finish by securing hardware, charging, and testing.
What you’ll need (tools & materials)
- Safety: Chemical-splash goggles, acid-resistant gloves, apron, baking soda (for neutralizing), plenty of water, rags.
- Hand tools: Wrench/socket set, torque wrench, insulated nut driver, battery lifting strap, plastic scraper, non-sparking brush.
- Electrical: Multimeter, color labels/tape, anti-corrosion spray or dielectric grease, replacement cables/lugs if corroded.
- Cleaning: Mix of water + baking soda (about 1 tbsp per cup) for trays and light corrosion; paper towels or shop towels.
- New batteries: Correct voltage/capacity for your pack (e.g., six 6V for 36V; six 8V or four 12V for 48V), plus new hold-downs if needed.
Know your wiring (before you start)
Most golf carts use a series configuration to raise voltage: negative of one battery links to positive of the next, creating 36V or 48V across the pack. Example setups:
- 36V: six 6V batteries in series.
- 48V: six 8V in series, or four 12V in series.
The cart’s main cables connect only to the pack negative (first battery’s negative) and pack positive (last battery’s positive). Take clear photos of the existing layout and label cables before removal.
1. Prepare the cart and safety
- Park on level ground, set the brake, remove the key. If equipped, set the Tow/Maintenance switch to Tow.
- Wear goggles and gloves. Remove jewelry and keep metal tools away from bridging terminals.
- Open the seat or battery bay for full access. Ventilate the area—lead-acid off-gassing is normal.
- Using a multimeter, confirm the pack voltage and note cable routing. Label the cart’s main positive and main negative leads.
2. Remove the old batteries
- Power down the pack: Disconnect the pack negative first, then the pack positive. Next, remove the short series jumpers.
- Loosen and remove battery hold-downs. Use a lifting strap or proper handles—batteries are heavy.
- Neutralize and clean the tray: apply the baking-soda solution to any white/green corrosion, let it fizz, then rinse and dry. Scrape off debris, inspect cables and lugs; replace anything swollen or frayed.
- Check tray integrity and paint/treat any exposed metal to prevent future rust.
3. Install the new batteries
- Place batteries in the same orientation as the originals so the series links will reach without strain. Keep all vent caps accessible.
- Make series connections: Connect Battery 1 (+) to Battery 2 (−), Battery 2 (+) to Battery 3 (−), and so on, until your target voltage is achieved. Leave the pack negative and pack positive posts free for the cart’s main leads.
- Install the cart leads: Attach the cart’s main negative cable to the pack negative post and the cart’s main positive cable to the pack positive post. Confirm polarity twice.
- Torque and protect: Tighten to the manufacturer’s torque spec (snug, not crushed). Coat terminals lightly with anti-corrosion spray or dielectric grease—avoid getting it between the lug and the lead post.
- Secure hold-downs: Batteries must not shift during cart movement; snug the brackets evenly without distorting the cases.
4. Final steps and testing
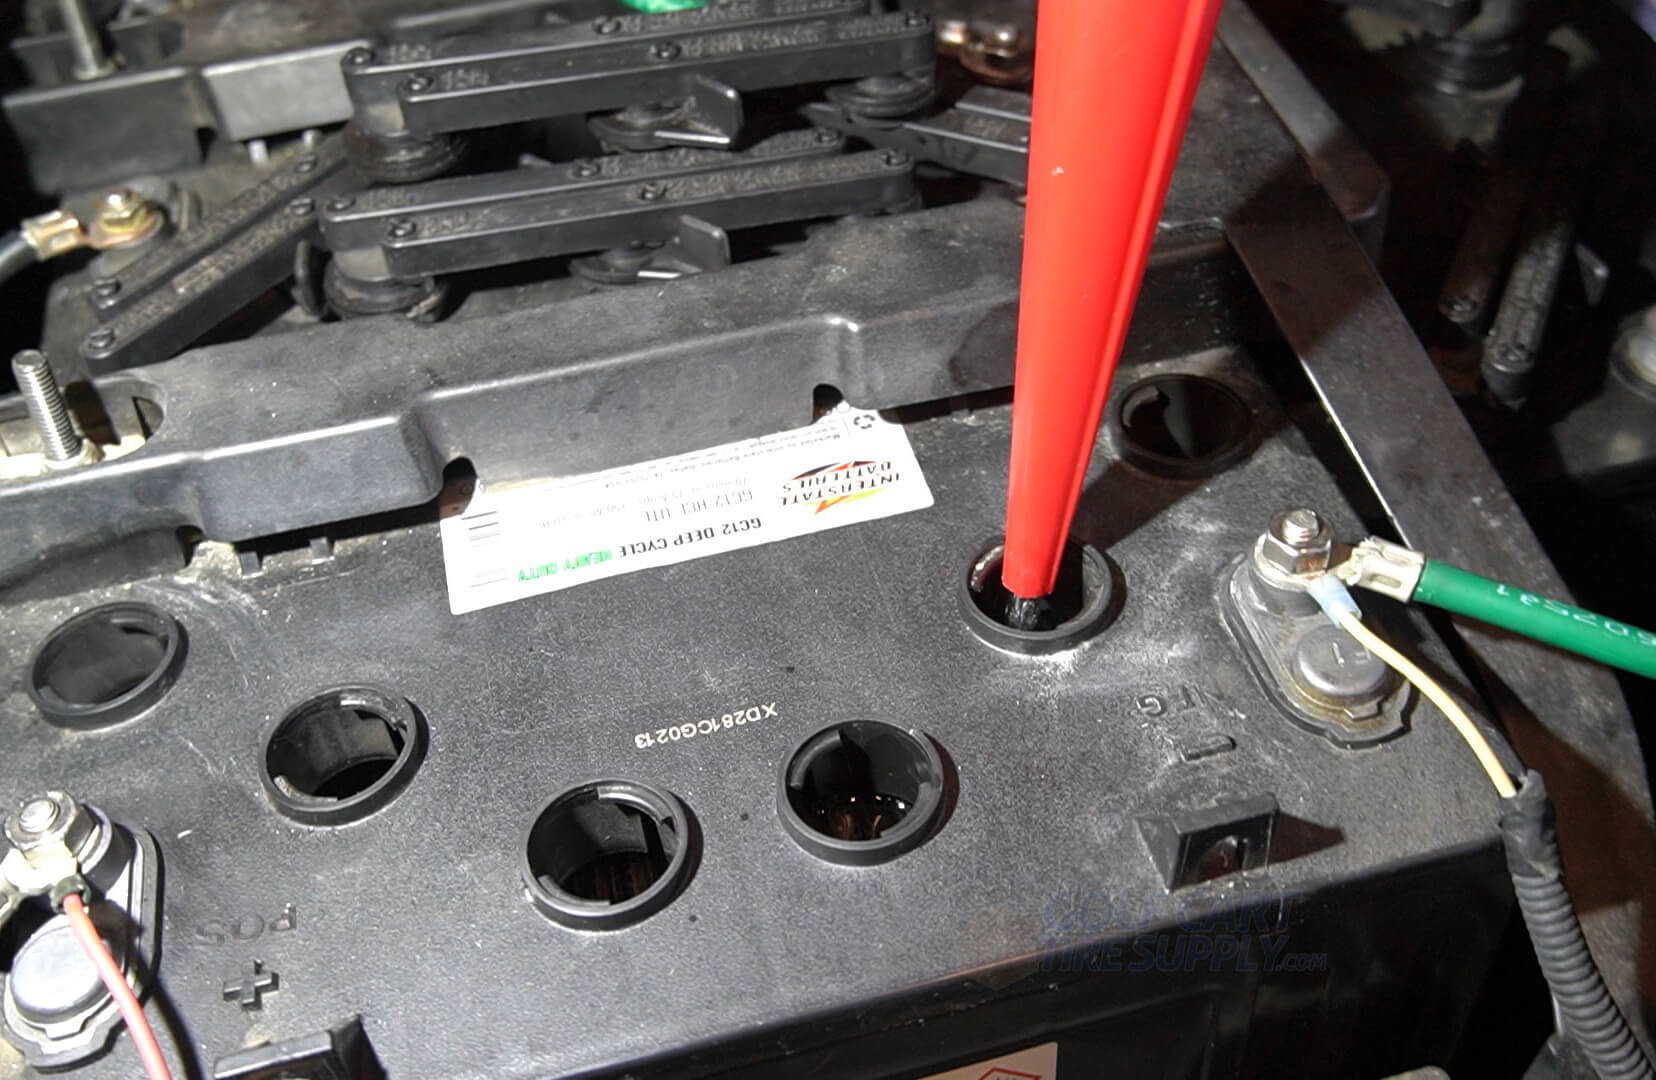
- Top off (flooded only): If the batteries are shipped filled, check electrolyte; add distilled water to just below the split ring—never overfill. Do this after charging when possible, as levels rise with charge.
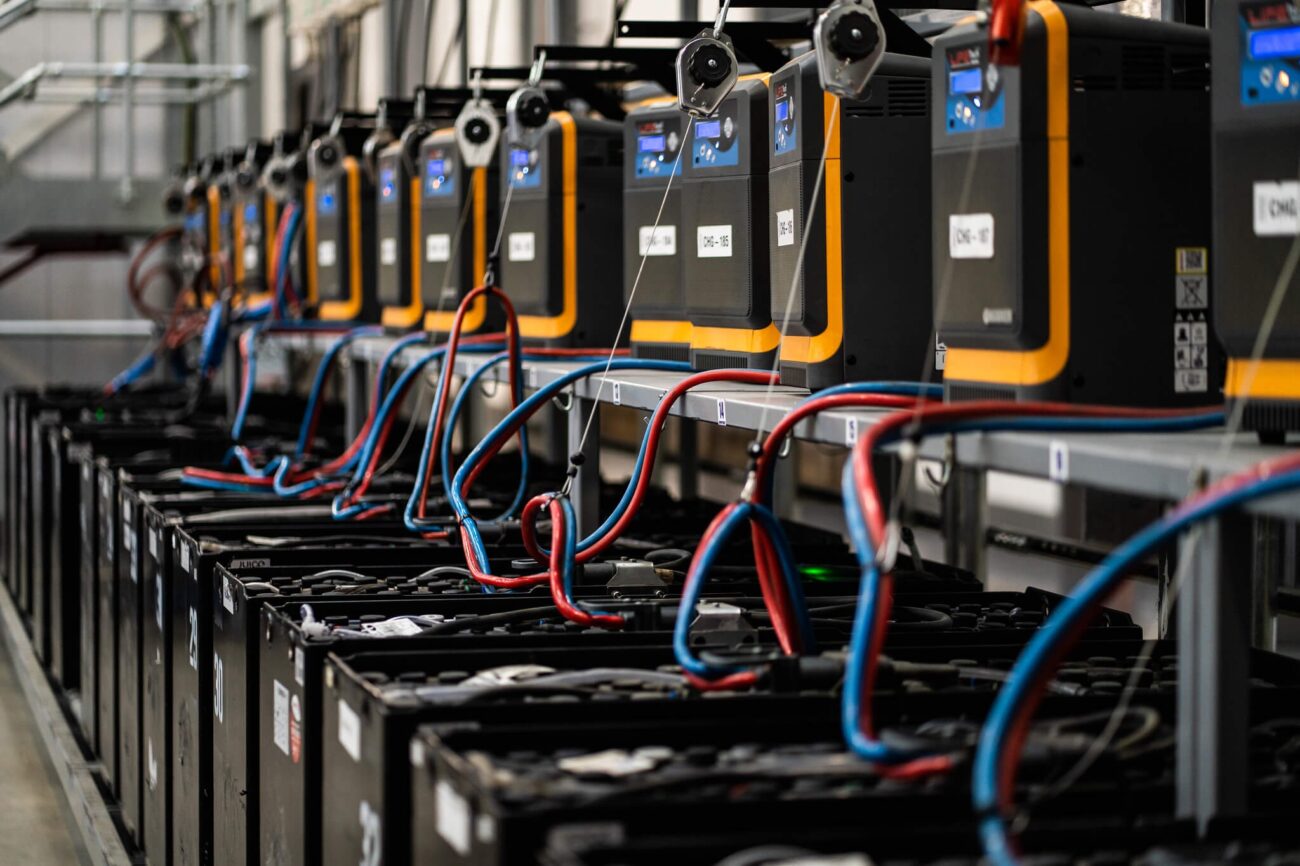
- Initial charge: Use the correct 36V/48V charger and complete a full charging cycle before the first drive. Ventilate the area.
- Verify voltage: Measure pack voltage at rest and confirm the charger terminates normally. Inspect for warm cables or odd smells—recheck torque if anything is warm.
- Break-in: For the first 15–20 cycles, avoid deep discharges; keeping the state of charge above ~50% helps the pack settle.
- Maintenance notes: Monthly—inspect torque, clean tops with a damp cloth, check water level (flooded types), and keep terminals protected.
Safety reminders
- Always disconnect pack negative first, reconnect positive first only when reinstalling.
- Never short a battery with a tool; keep wrenches insulated and controlled.
- Neutralize acid spills immediately with baking soda; rinse with water.
- Recycle old batteries at an authorized facility—lead-acid is hazardous waste but fully recyclable.
Are lead-acid batteries good for golf carts?
Yes—they remain a proven, cost-effective choice. Flooded lead-acid packs offer solid range, predictable behavior, and low upfront cost. They do require regular maintenance (watering, cleaning, equalization charging) and are heavier than lithium. If you prioritize lowest purchase price and don’t mind routine care, lead-acid is a great fit. If you want lighter weight, faster charging, deeper usable capacity, and less maintenance, lithium is compelling—but it costs more initially and may require a charger/BMS upgrade.
Quick troubleshooting
- Cart won’t power: Check that the Tow/Run switch is in Run, verify pack voltage, and confirm main leads land on true pack (+) and (−).
- One cable hot: Likely loose or oxidized connection—disconnect safely and re-crimp/clean, then torque to spec.
- Uneven charge: For flooded packs, perform an equalization charge per the charger’s manual; test individual battery voltages after resting.
With the right safety prep, clean wiring, and a full first charge, your lead-acid pack will deliver reliable power and range for your golf cart across many seasons.


Add a review
Your email address will not be published. Required fields are marked *