
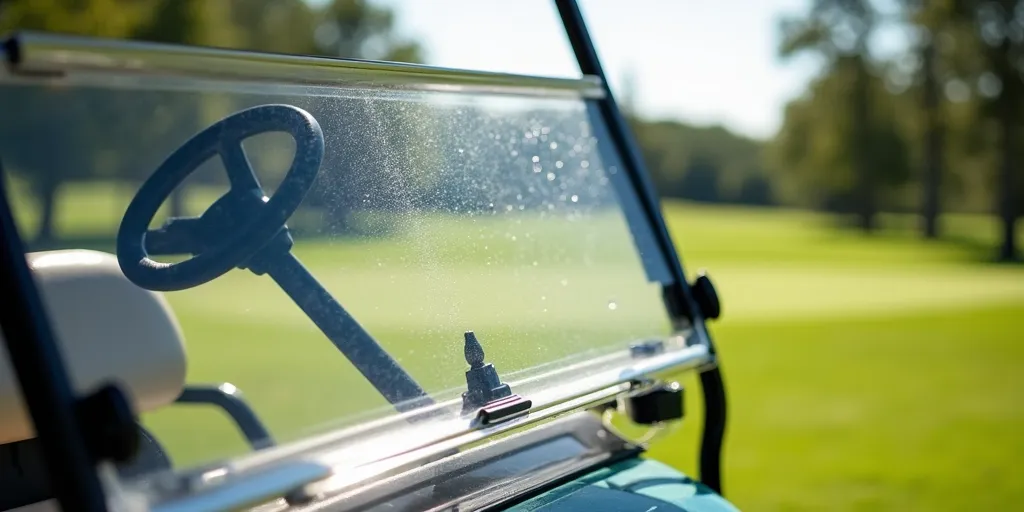
Clean a Cloudy Golf Cart Windshield: Supplies, Safe Steps, and What to Avoid
A cloudy windshield hurts visibility and comfort. Use this gentle, plastic-safe routine to restore clarity on your golf cart and keep it streak-free longer.
Why windshields turn cloudy
Most cart windshields are acrylic or polycarbonate, which scratch easily and react badly to harsh chemicals. Fine dust, towel marks, and sun exposure create haze over time. The cure is a careful wash and a plastic-specific polish—never aggressive abrasives meant for glass or paint.
What supplies are needed to clean a cloudy golf cart windshield?
- Rinse source: Low-pressure hose or a clean spray bottle with distilled water.
- Wash solution: pH-neutral car shampoo (ammonia- and solvent-free) mixed in a clean bucket.
- Applicators: Plush microfiber wash mitt or ultra-soft sponge reserved for plastic only.
- Drying towels: Two or three high-pile microfiber towels (edgeless if possible).
- Plastic cleaner: Ready-to-use acrylic/polycarbonate cleaner for spot work.
- Plastic polish: Fine, plastic-safe polish or “fine scratch remover” formulated for acrylic/polycarbonate.
- Foam pads: Hand applicator pads; optional dual-action polisher with soft finishing pad (low speed only).
- Protection (optional): Plastic sealant or anti-fog coating compatible with acrylic/polycarbonate.
- Masking: Low-tack tape to protect trim if polishing near edges.
- Gloves: Nitrile gloves to keep oils off the surface.
Step-by-step cleaning
Rinse:
Gently flood the windshield from top to bottom with low pressure. The goal is to float dust off the surface so you’re not grinding grit into the plastic. If using a spray bottle, mist heavily with distilled water.
Wash:
Dip your clean microfiber mitt into the soapy water and glide in straight lines—no circles—top to bottom. Rinse the mitt frequently so you’re never dragging trapped dirt. For bug splatter, hold a soaked microfiber against the spot for 30–60 seconds to soften before wiping.
Rinse again:
Lightly sheet water over the surface until the soap is gone. Avoid high-pressure spray, which can drive grit across the panel or lift edges at the folding hinge.
Dry:
Blot, don’t rub. Press a high-pile microfiber towel against the surface and lift, moving methodically. Use a second dry towel for a final pass to prevent mineral spots—distilled water minimizes spotting.
Polish (for cloudiness):
Test in a small corner first. Apply a pea-sized drop of plastic-safe polish to a soft foam pad. Work a 12" × 12" section with light pressure in overlapping straight strokes. Haze should diminish as micro-scratches level. If using a dual-action polisher, set to low speed with a finishing pad; keep the pad flat and moving to avoid heat build-up. Do not use glass compound or heavy paint compounds.
Buff:
Let the polish haze per product directions, then buff gently with a clean, dry microfiber until clear. Inspect from multiple angles. Repeat on stubborn zones; several light passes are safer than one aggressive one. Finish with a plastic sealant or anti-fog protectant if desired.
Pro tips for a clearer, longer-lasting finish
- Work in shade on a cool surface; heat bakes in streaks and accelerates chemical reaction on plastics.
- Dedicate a “windshield-only” mitt and towels so embedded clay or compound from paint work never touches plastic.
- Blow out hinge folds and edges with low-pressure air before drying to prevent drip marks.
- Maintain monthly with a quick plastic cleaner and soft towel; deep polish only when needed.
What to avoid
Abrasive cleaners: Skip scouring powders, glass polishes with cerium oxide, rubbing compounds, “Magic Eraser” melamine foam, and toothpaste. These cut aggressively and leave permanent micro-marring on acrylic and polycarbonate.
Scratchy materials: No paper towels, shop rags, or dirty microfibers. Paper fibers and trapped grit act like sandpaper. Use plush, clean microfibers with bound or edgeless seams.
Harsh chemicals: Avoid ammonia, bleach, acetone, lacquer thinner, gasoline, strong alcohols, citrus solvents, and petroleum tar removers. These can cloud, craze, or embrittle plastic. Use only plastic-approved cleaners and mild soaps.
Troubleshooting cloudiness
- Uniform haze after washing: Likely mineral spots or towel lint. Re-mist with distilled water, lightly wipe with a fresh microfiber, then dry with a second towel.
- Fine swirl marks: Caused by circular rubbing with dry towels. Repolish using straight strokes and softer pads; seal afterward.
- Deep scratches: Severe gouges may require progressive plastic sanding and professional polishing, or replacement if cracks are present.
- White “stress” lines (crazing): Chemical exposure or UV damage. Polishing won’t remove true crazing; replacement is the safe fix.
Maintenance routine (quick reference)
- Rinse dust with low pressure or distilled mist.
- Wash gently with pH-neutral shampoo and a plush mitt.
- Rinse and blot-dry with high-pile microfiber.
- Polish lightly only when haze returns; protect with plastic-safe sealant.
Bottom line
Clean plastic the plastic-safe way: rinse, gentle straight-line wash, blot dry, then polish and buff with products made for acrylic/polycarbonate. Avoid harsh chemicals and scratchy tools, and your cloudy windshield will regain the clarity and safety your golf cart deserves.


Add a review
Your email address will not be published. Required fields are marked *